Easy Drawings For 5 Year Olds Sketches Pugs are a breed of dog characterised by their short-muzzled faces with wrinkles and short, curly tails. It’s almost like a tiny bulldog! Easy Drawings For 5 Year Olds can be stubborn and mischievous, but they can also be loving and compassionate.
Snoopy Painting Instructions
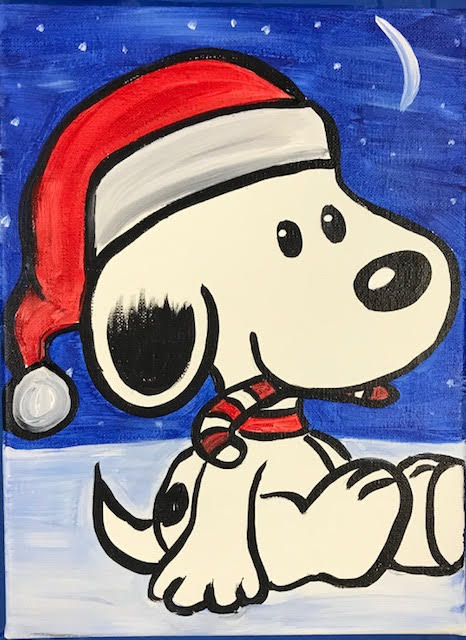
Simple Children’s Sketches One of the most common choices for a pet dog is Snoopy. Due to its adorable and distinctive physical characteristics, it is also a fascinating topic to draw.
We created a step-by-step tutorial on how to sketch a pug using 9 essential steps and simple illustrations.
You only need some paper and your chosen drawing instrument to start sketching. Bring your sketching materials, too!
Let’s begin studying snoopy drawing techniques!
1:
- Starting just above the paper’s centre, draw a crooked circle to depict the pug’s head. To emphasise the pug’s round cheeks, make a face a little wider than the remainder of the face, as shown in the illustration.
- Do not push down too hard with your pencil when drawing the outline. To make it simple to eliminate later any lines from the outline that is no longer required, it is imperative to draw lightly.
- Whenever drawing an outline or preliminary design, use light strokes.
2:
- Step two is to outline the pug’s cranium.
- In this step, we will depict the adorable little fold-over ears that Pugs are renowned for.
- Draw an uneven shape with a tapered top and a broad bottom to represent the right ear, which is entirely visible.
- The next step is to draw a similar shape halfway down the opposite side to make the left ear. Avoid erasing the overlapping lines inside the ears to achieve the best possible form.
3:
- Outlining the pug’s body is the third stage.
- Directly below the skull, create an extended shape with a rounded bottom to represent the body. Use a light touch to avoid making sharp lines that are difficult to erase, keeping in mind that this is just the body’s outline!
- The drawing demonstrates how the pug’s body is much smaller than its skull. This is because we are drawing an animated or caricature pug.
- The body can be made as large or small as you’d like!
4:
- Draw the pug’s front legs next (step 4).
- Draw two quick, parallel vertical lines on either side of the pug’s midsection. These make up the pug’s front limbs.
- The feet are then made by drawing a curved line at the bottom of each leg resembling a comprehensive letter “C.” There is no need to divide the paws within each foot with two tiny, curved lines!
5:
- Draw the pug’s rear legs next (step 5).
- Draw an upside-down U-shaped curve with the left line being longer than the other on the lower back of the pug’s torso.
- The outcome is that the hind limb looks folded. Then, draw the foot with three paws at the root of the back limb.
- Due to its sideways stance, the pug’s left hind limb is the only one that can be seen. We won’t draw the opposite limb on the back as a result.
6:
- Next, sketch the tail of the pug.
- In this stage, we’ll draw a pug’s short, pointed tail since that’s what they typically have. Draw the tail as a narrow, pointed shape on the pug’s lower back.
- In the upper illustration, the tail is raised upward. However, you can also draw it as a circle if you’d like!
- To depict the snout, draw a sideways oval shape in the lower middle of the pug’s face. You will draw the pug’s mouth and snout in the succeeding steps.
7:
- Refine the Pug’s Eyes in Drawing No. 7
- Above the outline of the muzzle, draw two enormous circles to depict the pug’s eyes.
- One of the most distinctive features of pugs is their fabled large, round eyes!
8:
- Draw the Face’s Finished Features
- We will now draw the last few facial features to complete the appearance. Draw a curved brow above each eye while working your way down from the top.
- Then draw an oval shape with a sideways angle, a slightly pointed bottom, and a curved W-shaped line inside the nose. For more detail inside the snout, don’t add tiny dots!